Written by Hitesh Kumar
This blog is to help to demonstrate the procedure to automate the application deployment using DevOps tools like AWS EKS (Elastic Kubernetes Services), Docker Hub Registry, GitLab, and Jenkins. The process includes but is not limited to implementation and the configuration of various tools. The outcome of this process is to automate the deployment process using CI/CD (Continuous Integration and Continuous Deployment).
Components:
- AWS EKS (Elastic Kubernetes Service)
- Docker Hub or Any Docker Registry
- GitLab (Cloud-based or Self-hosted)
- Jenkins Docker Build
- Jenkins Code Deploy
- AWS SES (Simple Email Service)
- Git (Local)
- Microsoft Visual Studio Code IDE (Local)
Process:
Step 1: Creating an EKS cluster with 2 worker nodes
In this first step, we need to setup an EKS cluster with 2 worker nodes. EKS is a managed service so the master node will be automatically managed by AWS. We will deploy the EKS cluster by following guidelines provided by AWS:
https://docs.aws.amazon.com/eks/latest/userguide/getting-started-console.html
EKS Cluster Architecture:

After setting up the EKS Cluster, we need to setup the other components like AWS ECR & code management tools.
Step 2: Creating a Docker Hub Registry to save the Docker Images
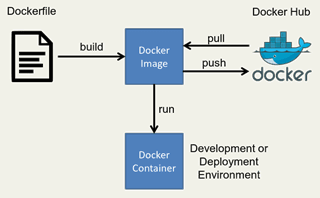
Our next step requires us to setup a container registry on Docker Hub. It could be a private registry as well and some other self-hosted Docker like Harbor. We can create a set of credentials to log into the Docker Hub registry. We need to create a registry so that we can push the Docker Image using Jenkins. Docker Hub is the world’s largest library and community for container images. You can browse over 100,000 container images from software vendors, open-source projects, and the community. https://hub.docker.com/
Step 3: Setup GitLab
GitLab is a web-based DevOps lifecycle tool that provides a Git-repository manager providing wiki, issue-tracking, and CI/CD pipeline features, using an open-source license. We need to setup a GitLab account. The GitLab could be cloud-based or self-hosted. We can sign up to GitLab using an email. https://about.gitlab.com/
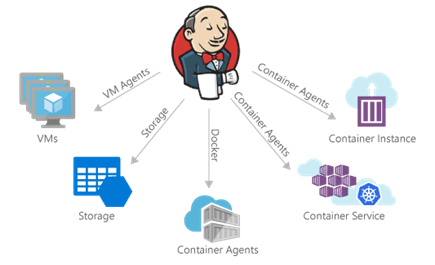
Step 4: Setup Jenkins on an EC2 machine
Step 4 is to setup Jenkins on an EC2 machine. Jenkins is a free and open-source automation server. Jenkins helps to automate the non-human part of the software development process, with continuous integration and facilitating technical aspects of continuous delivery. It is a server-based system that runs in servlet containers such as Apache Tomcat.
We need to install Jenkins on an EC2 machine in the same VPC where the EKS Cluster is deployed so that we can deploy the changes to the EKS Cluster worker nodes. We can use Ubuntu Server to install Jenkins.
Step 5: Integrate Jenkins with GitLab, Docker Hub, and EKS Cluster
Now, we need to integrate Jenkins with various components like GitLab, Docker Hub, and EKS Cluster. There is an adequate number of plugins available with Jenkins to integrate with the various tools. After the installation of various plugins, we are good to go for continuous deployment.
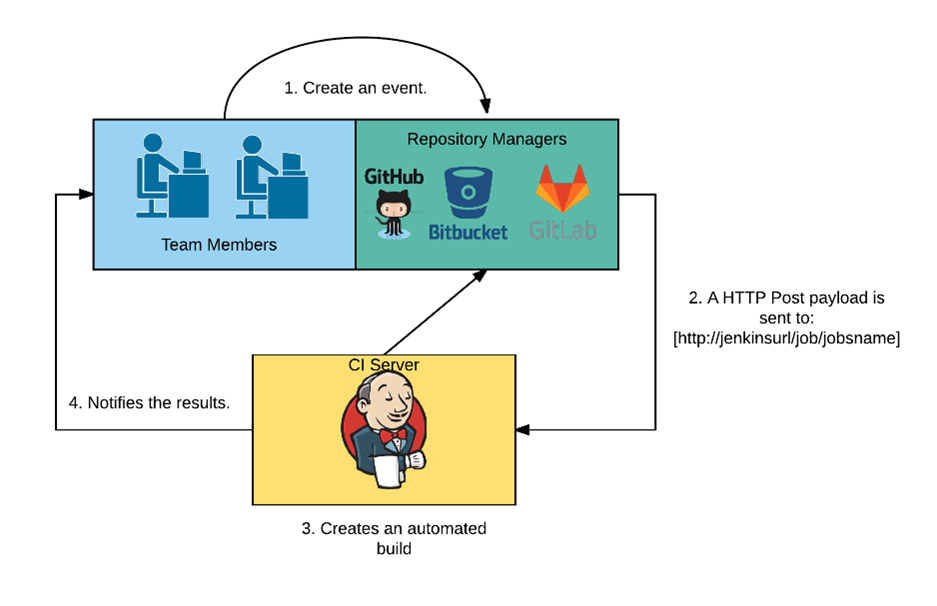
Step 6: Create a GitLab Project and push the code
Our last step is to create a GitLab Project so that we can commit the code to the project. After we commit, we need to review and merge the code to the respective branch so that Jenkins can start fetching the code and start to build the artefact. After the successful build, Jenkins pushes the Docker Image to Docker Hub and initiates the Rolling update to the EKS Cluster.

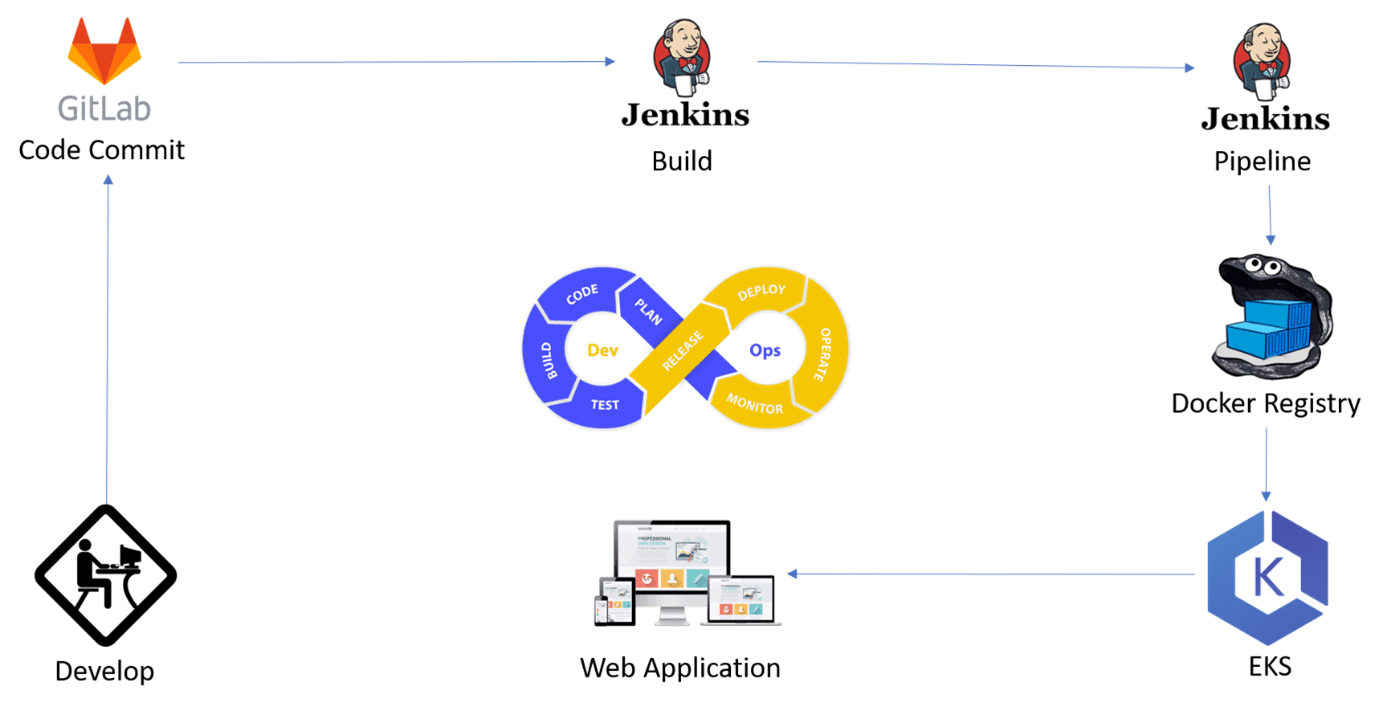
Process Flow:
- Developer develops the application
- Developer commits the code to GitLab
- Reviewer reviews the code and merges to the respective branch
- Jenkins continuously monitors the respective branch and initiates the code build
- Jenkins builds the container image, tags, and pushes the images to Docker Hub
- Jenkins triggers the image roll-out to the EKS cluster
- EKS will roll-out the updated image using rolling update strategy